How Pre-Sterilization and Sterilization Processes Play a Role in Safety
Ensuring a safe healthcare environment and preventing cross-contamination is paramount for dental hygienists. The importance of proper hand instrument care cannot be overstated, as it directly impacts the long-term functionality and working life of dental hygiene instrumentation. Dental hygienists have come to recognize the significance of hand instrument and equipment sterilization processes and formed a dedication to understanding the latest infectious disease control recommendations. Proper hand instrument reprocessing is crucial for the long-term function and working life of dental hygiene instrumentation. While the two major steps—pre-sterilization and sterilization—are widely known, understanding how each step involved in hand instrument reprocessing contributes to complete sterility is often overlooked.
Before Pre-Sterilization
Ideally, dental hygiene procedure set-ups are contained in hand instrument cassettes to limit handling and direct exposure to contaminants. Incorporating instrument cassettes into your practice will minimize handling and sorting and keep procedure-based setups organized and identified based on the clinician. Hand instrument cassettes extend the useful life of your instruments by minimizing instrument-to-instrument contact and damage from dropping. Brasseler USA offers a full line of stainless-steel instrument cassettes in sizes to accommodate every procedure type.
Pre-Sterilization
To achieve optimal sterilization, a comprehensive pre-sterilization process must be diligently followed. This process begins immediately following the dental hygiene treatment appointment. Both the CDC and FDA emphasize the significance of this initial step, stating that it must always precede disinfection or sterilization procedures. It is essential to remove any debris present on instruments during pre-sterilization, as this debris can act as insulation for microorganisms, impeding their inactivation during the sterilization process, which is as follows:
- Ensure safe transportation of contaminated instruments to the sterilization/reprocessing area while wearing heavy utility gloves, a mask or shield, and eye protection. Utilize instrument cassettes to minimize handling and reduce the risk of sharps injuries.
- If the cleaning procedure is delayed, pre-clean the instruments. Soak the contaminated instruments in enzymatic solutions designed for holding/soaking to prevent the drying of blood and debris on the surfaces. Alternatively, apply enzymatic spray or foam to coat the contaminated instruments and prevent the drying of blood and debris.
- Thoroughly rinse all enzymatic solutions and debris from the instruments, and carefully inspect them for any remaining debris.
- Proceed to the next step of instrument cleaning by utilizing an ultrasonic cleaner or an automatic instrument washer/disinfector.
Ultrasonic and Automatic Cleaning
Ultrasonic cleaning is a cavitation process where bubbles are agitated through high-frequency sound waves to penetrate every surface of medical instruments, including holes and recesses. Automatic cleaning uses a mechanical unit to achieve a similar result.
The steps for ultrasonic cleaning include:
- Follow your manufacturer’s recommendations for processing times and preparation of ultrasonic cleaning chemicals.
- Rinse all chemicals from instruments and inspect for any remaining debris. Use heavy utility gloves and a firm brush to carefully remove any debris not removed by the cleaning device. Residual debris may be an indication that the ultrasonic device is not working properly.
Automatic cleaning, on the other hand, being a traditional method, has more steps:
- Load hand instrument cassettes into your automated washer as recommended.
- Complete recommended wash/disinfection and dry cycle.
- Apply any anticorrosive agents or lubricants.
- Drying & Inspecting
- Instruments must be completely dry before placing them in a pouch or before wrapping the hand instrument cassette. Packaging wet hand instruments provide an opportunity for corrosion, discoloration from chemicals, and spotting.
- Inspect instruments for wear, broken tips, and dullness.
- Packing & Wrapping
- Contaminated dry instruments must be placed in acceptable packaging during the sterilization procedure.
The importance of hand instrument care in dental hygiene practice cannot be overstated. By incorporating best practices in instrument sterilization and reprocessing, dental hygienists play a vital role in preventing cross-contamination and ensuring a safe healthcare environment for patients. From understanding the necessity of the pre-sterilization process to recognizing the criticality of each step in hand instrument reprocessing, hygienists demonstrate their commitment to maintaining the complete sterility of instruments that penetrate soft tissue and bone. Proper hand instrument care not only safeguards patient well-being but also enhances the long-term function and working life of dental hygiene instrumentation. By prioritizing hand instrument care, dental professionals can uphold the highest standards of infection control and contribute to the delivery of quality oral healthcare.
Hand Instruments That Are Built to Last
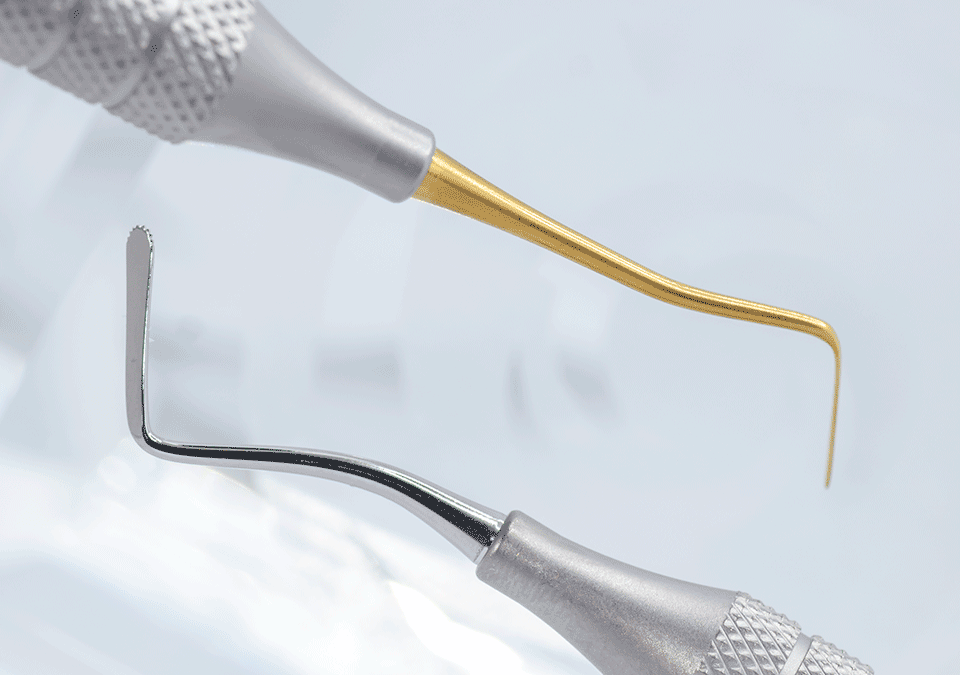
Brasseler USA Hand Instruments are designed to maintain their razor-sharp edges and a clean, aseptic appearance through repeated sterilization cycles.

